The Heartbeat of Your Kitchen: Understanding Your Sourdough Starter
Embarking on the sourdough journey is a delightful and rewarding experience, but for many beginners, the idea of keeping a live sourdough starter healthy and active can feel intimidating. Images of complex ratios, peculiar smells, and high-stakes science experiments often deter aspiring bakers. The truth, however, is far simpler and much more forgiving than you might imagine. Your sourdough starter is an incredibly resilient ecosystem of wild yeasts and lactic acid bacteria, eager to be put to work.
Think of your starter not as a fragile specimen, but as a robust, albeit quirky, kitchen pet. It has basic needs: food, water, and a comfortable temperature. When it receives these, it thrives, producing the gas that gives sourdough bread its signature open crumb and tangy flavor. Our ultimate goal is to demystify the process of how to activate, feed, and maintain a sourdough starter, making it accessible and enjoyable for everyone. This guide focuses on the celebrated 1:1:1 ratio, a golden standard that simplifies feeding and ensures your starter is always ready to bring your baking dreams to life.
Getting Started: Activating and Acquiring Your Sourdough Companion
Before you can bake your first loaf, you need a starter. While creating one from scratch can be a deeply gratifying process, it often takes weeks to establish a truly robust and active culture. For those eager to jump straight into baking, acquiring a starter is a fantastic shortcut. You can often get one for free from a friend or local baker, or purchase a dehydrated variety online. The benefits of starting with an established culture are numerous:
- Instant Gratification: Skip the multi-week waiting period and get straight to baking.
- Proven Strength: Established starters are often more vigorous and consistent than young, homemade ones.
- Cost-Effective: They're relatively inexpensive, especially considering the time saved.
Activating Your Sourdough Starter
Once you have your starter in hand, the first step is often activation. If you received a liquid starter from a friend, it might just need a good feed after its journey. If you purchased a dehydrated starter, the activation process typically involves rehydrating it with warm water and then beginning a series of regular feedings to awaken the dormant microbes. Always follow the specific instructions provided by your starter's source, as procedures can vary slightly.
Generally, activation involves:
- Combining the dehydrated starter with warm, filtered water.
- Allowing it to rehydrate for several hours.
- Adding flour to begin the feeding cycle.
- Placing it in a warm spot (around 75-80°F / 24-27°C) to encourage activity.
You'll know your starter is activating successfully when you start to see small bubbles forming on the surface and around the sides of the jar, and it begins to emit a slightly yeasty, fermented aroma. Consistency in feeding during this initial phase is key to building strength.
Mastering the 1:1:1 Ratio: Your Beginner-Friendly Feeding Guide
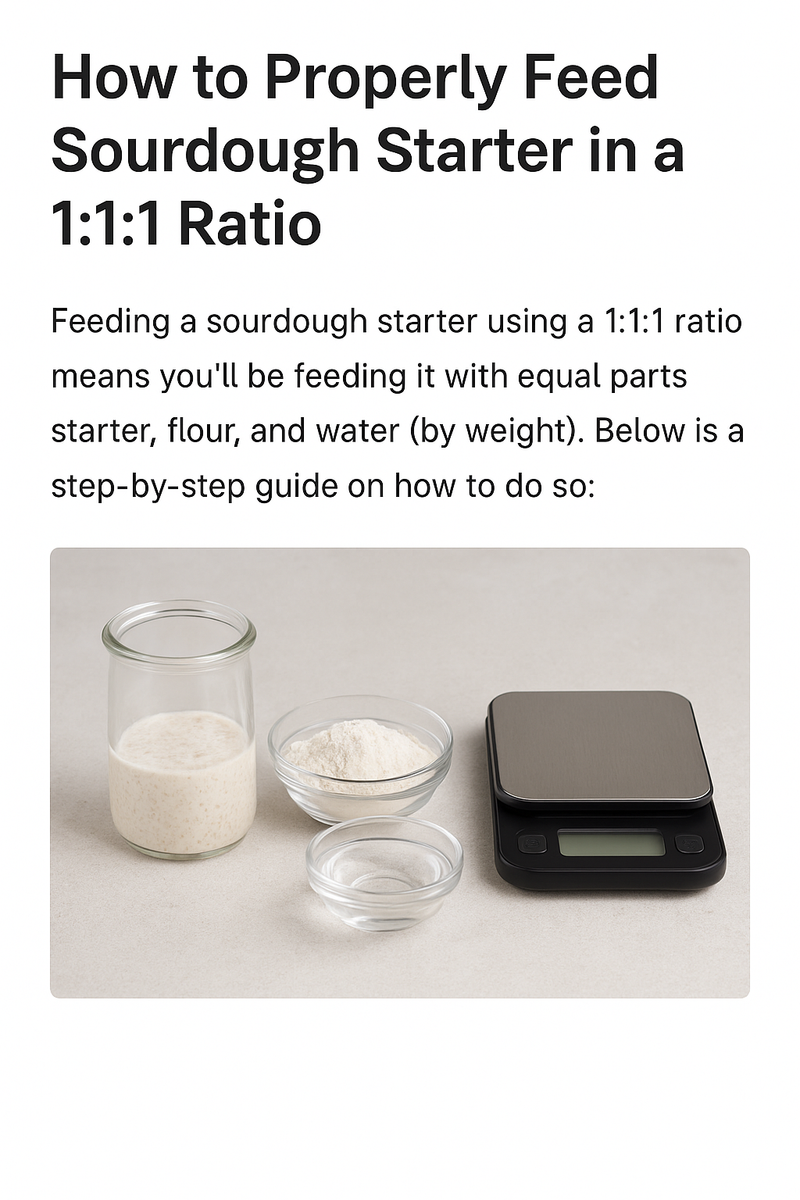
The 1:1:1 ratio is the cornerstone of easy sourdough starter maintenance. It's elegantly simple: you feed equal parts, by weight, of your existing starter, fresh flour, and water. This consistent approach removes guesswork and ensures a stable environment for your microbial colony. Forget cups and spoons; for accurate and consistent results, a digital kitchen scale is your most indispensable tool in sourdough baking.
What You'll Need:
- Your Sourdough Starter: The "mother" culture you're ready to feed.
- Unbleached Bread Flour or All-Purpose Flour: Unbleached flours contain more natural enzymes that the yeast and bacteria thrive on. Bread flour, with its higher protein content, can also contribute to a stronger starter.
- Filtered Water (75-80°F / 24-27°C): Chlorine in tap water can inhibit yeast activity, so filtered water is preferred. Lukewarm water helps "wake up" your starter and encourages fermentation.
- A Clean Glass Jar: Spacious enough for your starter to double or triple in size.
- A Digital Kitchen Scale: Essential for precise measurements.
- A Rubber Band or Marker: To track your starter's rise.
The 1:1:1 Feeding Routine, Step-by-Step:
- Stir & Assess: Before feeding, give your starter a gentle stir. Observe its texture and smell. A healthy, hungry starter might have a thin layer of "hooch" (dark liquid) on top and smell tangy or slightly alcoholic. A pleasant, yeasty aroma indicates good health.
- Discard: This is a crucial step for managing your starter's population and preventing you from needing an exorbitant amount of flour for each feed. Pour out all but a small amount of your starter. A good starting point is to leave about 50 grams (approximately 1/4 cup by volume, but *always* weigh). The discarded starter can be used in a myriad of delicious recipes, from pancakes to crackers, ensuring nothing goes to waste.
- Add Water: To the remaining starter, add an equal weight of filtered, lukewarm water. For example, if you left 50g of starter, add 50g of water. Stir thoroughly until the starter and water are fully combined and there are no lumps.
- Add Flour: Now, add an equal weight of flour. Following our example, add 50g of flour.
- Mix Thoroughly: Using a spoon or spatula, mix the flour, water, and starter together until no dry bits of flour remain. The mixture should be a thick, paste-like consistency, similar to a thick pancake batter. Scrape down the sides of the jar to keep it tidy.
- Mark the Level: Place a rubber band around the jar at the current level of your freshly fed starter. This will allow you to easily track its rise and activity over the next few hours.
- Place in a Warm Spot: Position your starter in a warm location, ideally between 75-80°F (24-27°C), away from direct sunlight or drafts. This optimal temperature encourages active fermentation.
Within 4-8 hours (depending on temperature and starter strength), you should see your starter bubble vigorously and double or even triple in size, reaching its peak activity before slowly deflating. This signals it's active and ready for baking, or for its next feed.
Maintaining a Thriving Starter: Troubleshooting and Beyond the Basics
Consistent feeding with the 1:1:1 ratio is fundamental to long-term success, but knowing what to look for and how to adapt your routine is what truly solidifies your sourdough starter maintenance: keep it alive & thriving.
Signs of a Healthy, Active Starter:
- Consistent Rise and Fall: After feeding, it reliably doubles or triples in size within 4-8 hours and then slowly falls.
- Abundant Bubbles: The entire culture should be filled with small and large bubbles, indicating active yeast and bacteria.
- Pleasant Aroma: It should smell yeasty, slightly sweet, tangy, or like fermented fruit/beer.
- Float Test (for baking readiness): Take a small spoonful of starter and drop it into a glass of water. If it floats, it's sufficiently aerated and ready to be used in a recipe.
Troubleshooting Common Sourdough Starter Issues:
- "Hooch" Formation: A dark liquid forming on top of your starter is a sign of hunger. It means your starter has consumed all available food and is signaling for more. You can either stir it back in (which adds a tangier flavor) or pour it off before feeding. It's generally harmless.
- Sluggish Activity: If your starter isn't rising much, consider if it's too cold, if your flour is very old, or if it needs more consistent feeding to build strength. A few days of regular feeding at room temperature usually revives it.
- Unpleasant Odor: A very strong, acetone-like smell can also indicate extreme hunger. Feed it! A foul, rotten smell, or the appearance of colored, fuzzy mold, means your starter has likely gone bad and should be discarded. (Mold is rare in healthy starters due to their acidic environment).
Storing Your Starter: Adapting to Your Baking Schedule
The beauty of sourdough is its adaptability. Your feeding schedule can be adjusted to fit your lifestyle:
- Room Temperature (Daily Feeding): If you bake frequently (several times a week), keep your starter on the countertop and feed it daily using the 1:1:1 ratio. This keeps it at peak readiness.
- Refrigerator (Weekly Feeding): For less frequent bakers, storing your starter in the refrigerator is ideal. The cold slows down metabolic activity, meaning you only need to feed it once a week. When you're ready to bake, take it out, let it come to room temperature, and perform 1-2 regular feedings (with discards) over 12-24 hours to "wake it up" and bring it back to peak activity before using.
Embracing the Discard
Remember that discarded starter isn't waste! It's simply starter that hasn't been fed and therefore lacks the leavening power for bread, but it's packed with flavor. Use it to create delicious recipes like crackers, pancakes, waffles, muffins, or even pizza dough. This not only prevents food waste but also adds another layer of enjoyment to your sourdough journey.
Conclusion
Maintaining a sourdough starter doesn't have to be a daunting task. By embracing the simplicity and effectiveness of the 1:1:1 ratio, you unlock the secret to a consistently active and healthy starter. Think of it as a partnership: you provide the food and care, and your starter rewards you with endless possibilities for delicious, homemade bread and other baked goods. Don't be afraid to experiment, observe, and learn from your starter—it's incredibly resilient and will quickly become a cherished and active part of your kitchen. Enjoy the process of learning how to activate, feed, and maintain a sourdough starter, and soon you'll be baking incredible sourdough creations with confidence!
